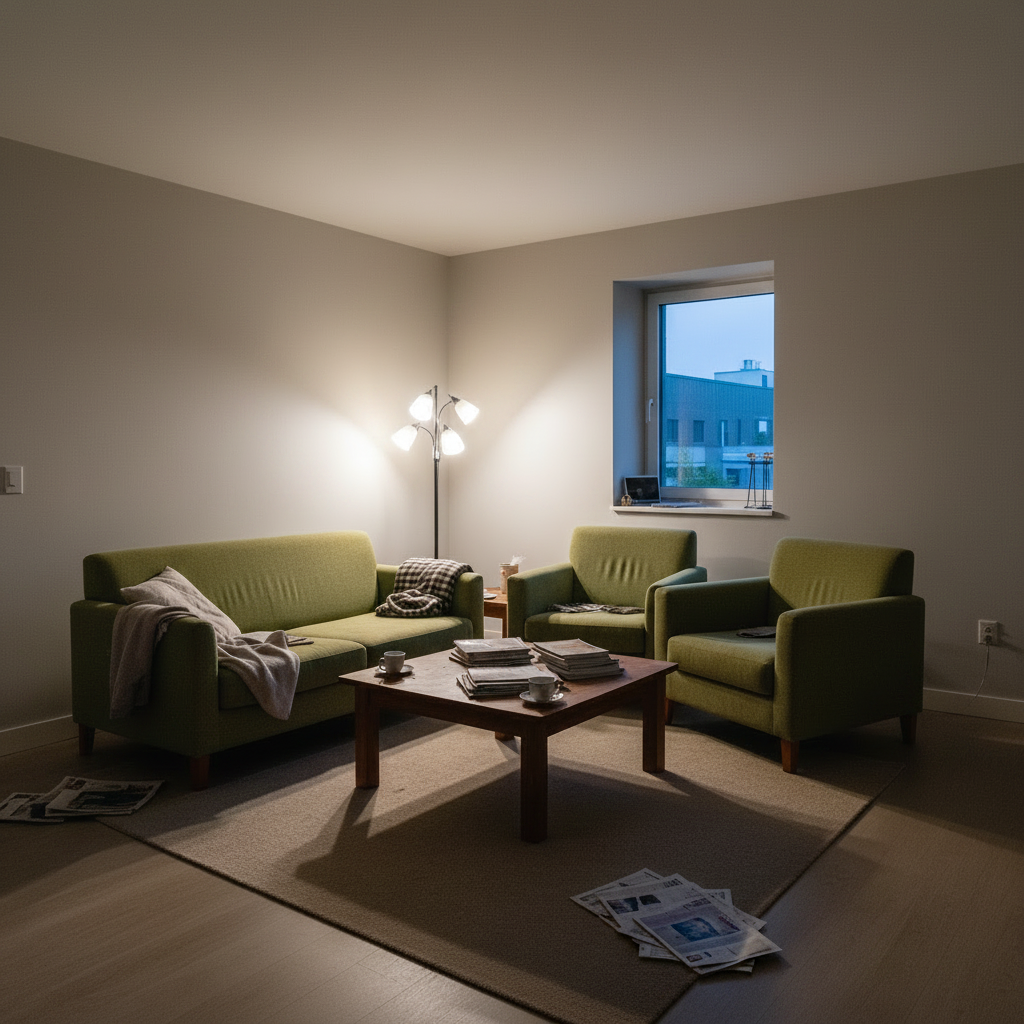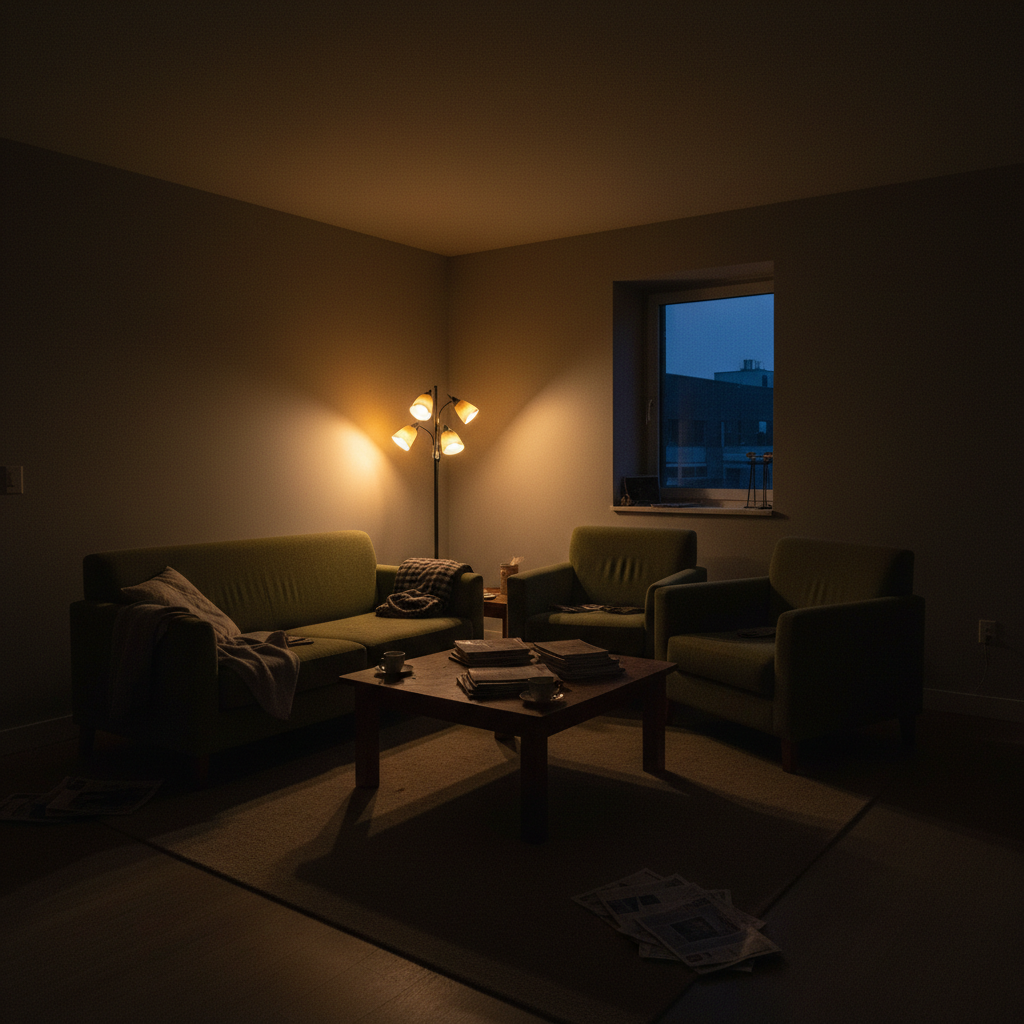
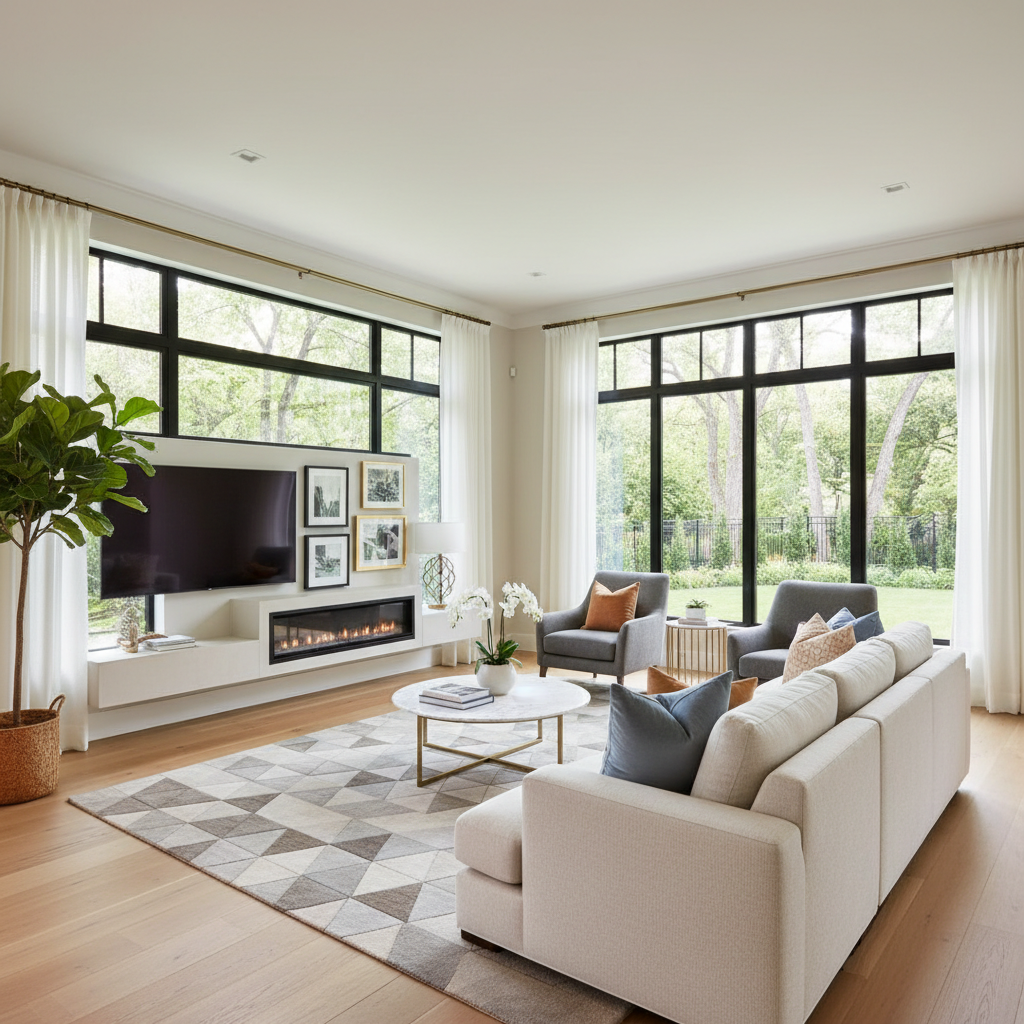
In today's fiercely competitive real estate market, a picture isn't just worth a thousand words; it's worth potential open house visits, calls from agents, and ultimately, a faster, more lucrative sale. Listing photos are the very first impression a property makes on prospective buyers, and in the fleeting scroll of online listings, you have mere seconds to capture their attention. Bad photos can deter buyers before they even read a single detail, while outstanding ones can ignite desire and drive immediate action.
This comprehensive guide will equip you with the knowledge and strategies to create listing photos that don't just look good, but actively sell. We'll delve into everything from foundational photography principles and staging secrets to the powerful role of AI photo enhancement, ensuring your properties stand out from the crowd and command top dollar.
The Immutable Power of First Impressions
Think about your own online browsing habits. When searching for anything, from a new car to a vacation rental, what's the first thing you notice? The images. Real estate is no different, perhaps even more critical, given the significant emotional and financial investment involved. Listings with high-quality photos consistently perform better:
- Higher Engagement: Properties with professional photos receive significantly more views and clicks.
- Faster Sales: Homes with excellent photography spend less time on the market.
- Increased Asking Price: Studies show that professional photography can help properties sell for more, sometimes thousands of dollars above the asking price.
- Enhanced Agent Reputation: High-quality visuals reflect positively on you as an agent, building trust and attracting more clients.
Your goal isn't just to show a house; it's to sell a lifestyle, a dream, a future. And that begins with compelling visuals.
Mastering the Fundamentals: Photography & Preparation
Before you even touch a camera or contemplate AI enhancement, the foundation for great photos is laid in preparation and basic photography skills.
1. Strategic Staging: Declutter, Depersonalize, and Define
Staging is not about decorating; it's about helping potential buyers envision themselves living in the space. A well-staged home allows buyers to project their own belongings and lifestyle onto the property, rather than feeling like they're visiting someone else's home.
- Declutter Ruthlessly: Remove all personal items like family photos, excessive knick-knacks, and visible toiletries. Less is more.
- Depersonalize: Neutralize decor. Bold colors or unique furniture can be distracting. Aim for a clean, timeless aesthetic.
- Deep Clean: Every surface should sparkle. Dust, vacuum, mop, and clean windows. This makes a huge difference in photos.
- Rearrange Furniture for Flow: Furniture should be arranged to maximize space and create clear pathways, making rooms appear larger and more inviting.
- Define Spaces: Even in open-concept homes, use furniture to subtly define living, dining, and work areas.
- Outdoor Appeal: Don't forget curb appeal! Mow the lawn, trim bushes, sweep walkways, and add fresh flowers or potted plants.
2. Optimal Lighting: Embrace Natural Light
Lighting is arguably the most critical element in real estate photography. It affects mood, color accuracy, and the perceived spaciousness of a room.
- Open Blinds and Curtains: Maximize natural light. This is almost always preferable to artificial light.
- Turn on All Lights: Supplement natural light by turning on all overhead lights, lamps, and under-cabinet lighting. Use bulbs with consistent color temperature (warm white is generally preferred).
- Avoid Direct Sunlight: Bright, direct sunlight can create harsh shadows and blown-out highlights. Shoot during 'golden hour' (shortly after sunrise or before sunset) for exteriors, and diffuse harsh interior light with sheer curtains.
- Bracket Your Shots: If your camera allows, take multiple exposures (different light levels) of the same scene. This is often called HDR (High Dynamic Range) photography and helps capture detail in both bright and dark areas.
3. Composition and Angles: The Art of Perspective
Your choice of angle and composition significantly impacts how a room is perceived.
- Wide-Angle Lens: Essential for interior shots, as it makes rooms appear larger and captures more of the space. Be mindful of distortion, however.
- Eye-Level Perspective: Generally, shoot from a height that mimics how a person would experience the room – typically around 4-5 feet off the ground.
- Corner Shots: Shooting from a corner often reveals more of the room and adds depth.
- Rule of Thirds: Imagine dividing your image into nine equal sections with two horizontal and two vertical lines. Placing key elements along these lines or at their intersections creates more balanced and engaging photos.
- Straight Lines: Ensure vertical and horizontal lines in architectural elements appear straight. Use a tripod and adjust camera tilt as needed to correct for converging lines.
- Highlight Key Features: Capture close-ups of desirable features like a renovated kitchen island, a fireplace, or unique architectural details.
4. Gear Essentials: Don't Skimp on Quality
While good technique is paramount, the right tools make the job easier and the results better.
- DSLR or Mirrorless Camera: These offer manual controls and interchangeable lenses crucial for real estate photography.
- Wide-Angle Lens: A must-have (e.g., 10-22mm for crop sensor, 16-35mm for full-frame).
- Sturdy Tripod: Ensures sharp images, especially in low light, and consistent perspectives.
- Remote Shutter Release: Prevents camera shake.
- Flash (Optional but Recommended): A speedlight can be used for bounce flash to fill shadows and create even lighting, though natural light is often preferred.
The AI Advantage: Elevating Your Photos to Professional Grade
Even with the best staging and photography skills, real estate photos often need a professional touch in post-production. This is where AI photo enhancement tools, like RealEstatePhotoEditor.com, become indispensable. They bridge the gap between a good photo and an undeniably stunning one, saving you time and delivering consistent, high-quality results.
How AI Enhances Listing Photos That Sell:
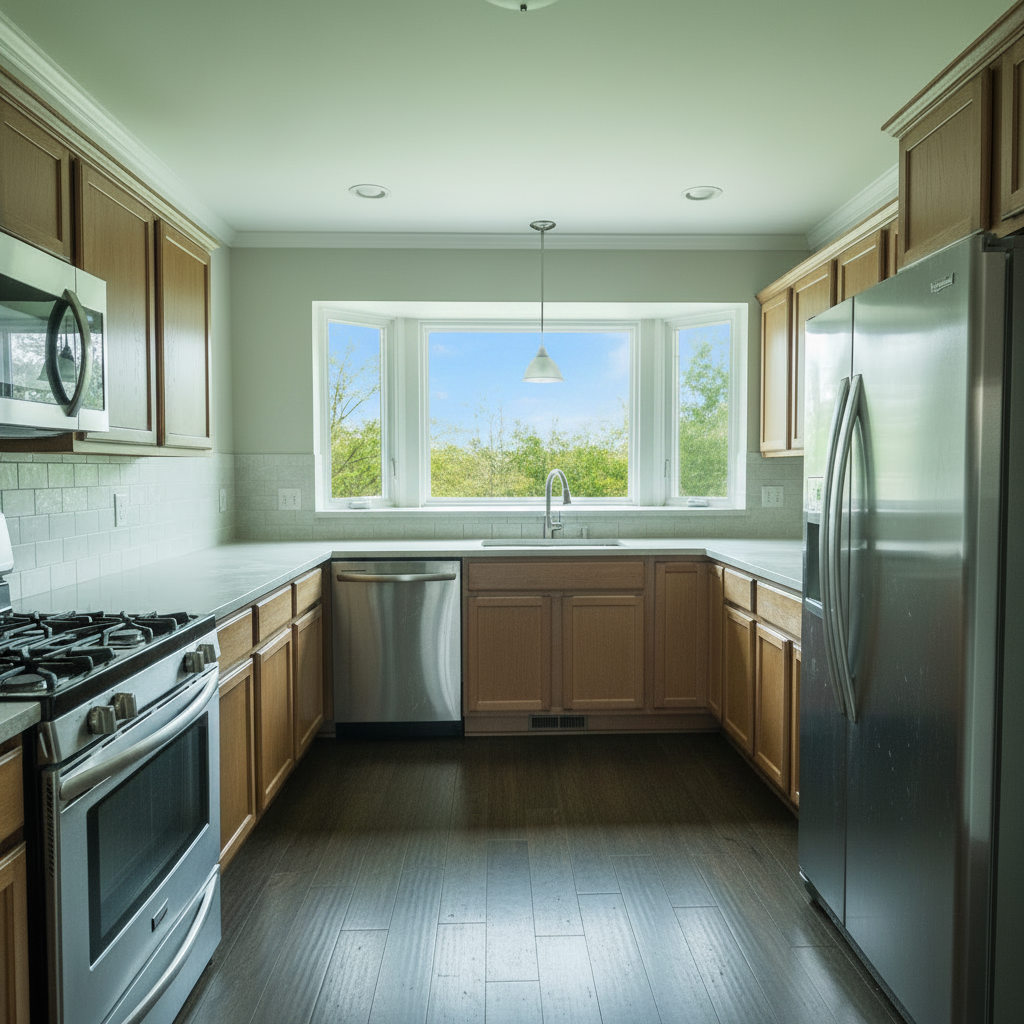
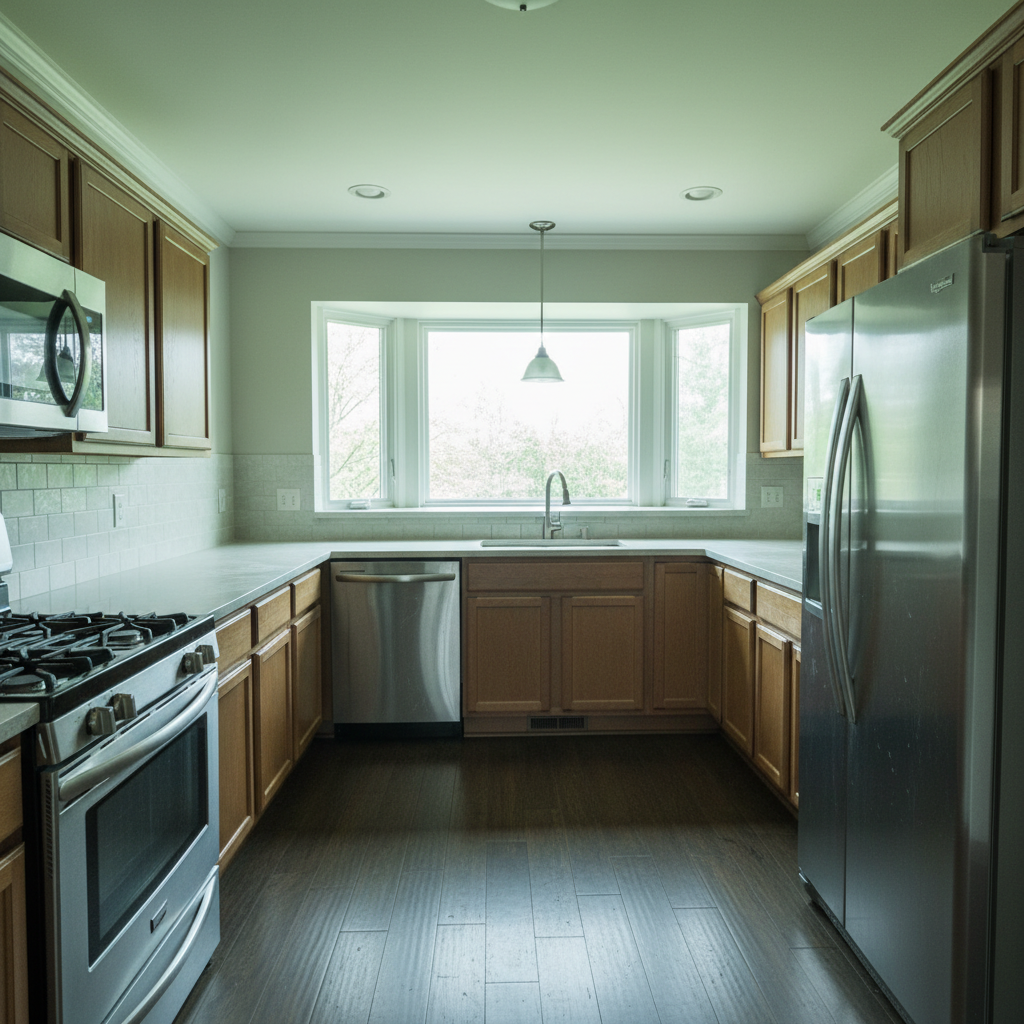
- Brightness and Contrast Adjustment: AI can automatically optimize exposure, brightening dark areas without blowing out highlights, making interiors look more inviting.
- Color Correction and White Balance: Rooms often have color casts from artificial lights or windows. AI can neutralize these, ensuring colors are true-to-life and vibrant, making floors and walls appear clean and fresh.
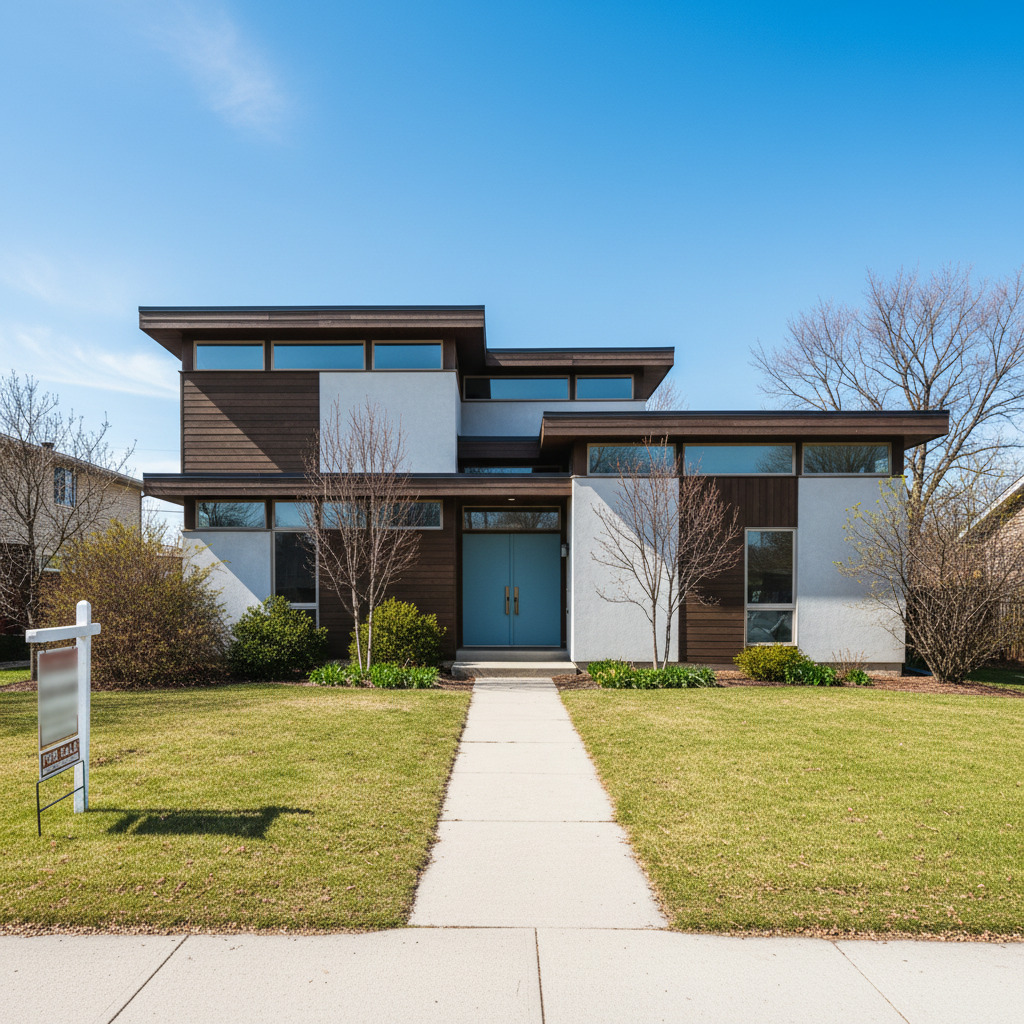
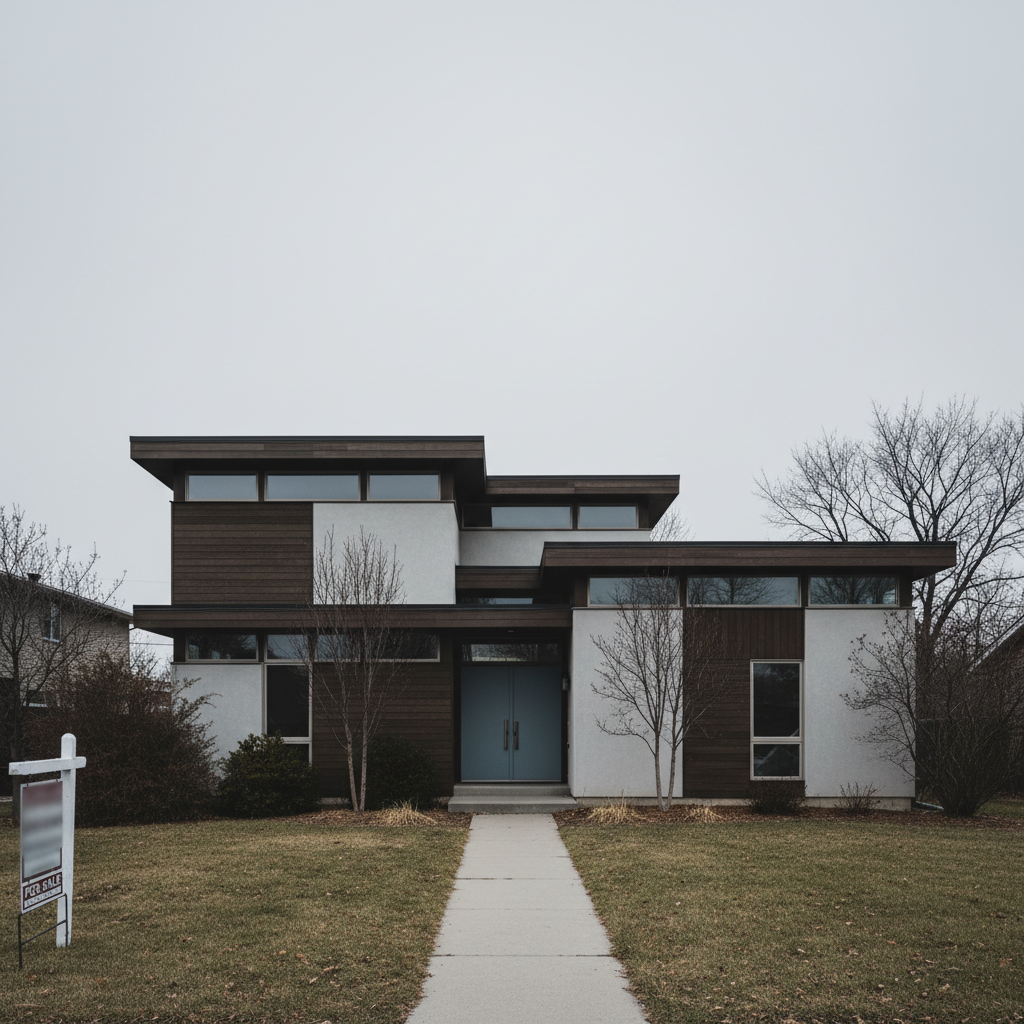
- Sky Replacement: A dreary, overcast sky in an exterior shot can dramatically detract from curb appeal. AI can seamlessly replace it with a bright, blue sky, or even a stunning sunset, instantly transforming the mood of the photo.
- Object Removal: AI can intelligently remove unwanted objects like clutter, shadows, or even minor blemishes, cleaning up the scene to present a pristine environment.
- Sharpening and Noise Reduction: AI algorithms can enhance detail and clarity while reducing digital noise, resulting in crisp, professional-looking images.
- Lens Distortion Correction: Wide-angle lenses can cause bowing or bulging. AI can automatically correct these distortions, ensuring straight lines and architectural integrity.
- HDR Blending: For bracketed shots, AI can flawlessly merge multiple exposures into a single, perfectly exposed image with incredible dynamic range.
By leveraging AI, you can achieve professional-grade results without spending hours in complex editing software or hiring an expensive retoucher. It ensures every photo consistently presents the property in its best possible light, directly contributing to listing photos that sell.
A Checklist for Selling Photos
Use this detailed checklist to ensure every photo opportunity is maximized:
Before the Shoot:
- Exterior:
- Mow lawn, trim hedges, pull weeds.
- Sweep sidewalks and driveways.
- Clear gutters, wash windows.
- Remove cars, trash cans, garden hoses.
- Add potted plants or fresh flowers to entrance.
- Ensure house numbers are visible and clean.
- Check for any peeling paint or minor repairs needed.
- Interior (Per Room):
- Declutter all surfaces (counters, tables, shelves).
- Remove personal items (family photos, toothbrushes, clothes).
- Deep clean and dust all surfaces.
- Vacuum/mop floors, clean mirrors and windows.
- Straighten furniture, pillows, and rugs.
- Open all blinds/curtains to maximize natural light.
- Turn on all lights (lamps, overhead, under-cabinet).
- Hide trash cans, pet bowls, and small appliances.
- Make all beds neatly.
- Close toilet seats and clear bathroom counters.
- Remove magnets from refrigerators.
During the Shoot:
- Lighting:
- Shoot during optimal natural light hours.
- Ensure all interior lights are on and even.
- Utilize HDR techniques (bracketing) where necessary.
- Composition:
- Use a wide-angle lens for interiors.
- Shoot from eye-level perspective.
- Focus on corner shots to show room depth.
- Ensure all vertical and horizontal lines are straight.
- Capture key features and unique selling points.
- Take multiple angles of each room.
After the Shoot (Post-Production):
- AI Enhancement (RealEstatePhotoEditor.com):
- Upload all raw photos.
- Apply brightness/contrast adjustments.
- Correct white balance and color casts.
- Replace dull skies for exterior shots.
- Remove unwanted objects or blemishes.
- Sharpen details and reduce noise.
- Correct lens distortions.
- Ensure consistent quality across all images.
- Review:
- Select the very best 20-30 photos for the listing.
- Ensure a good flow from exterior to interior.
- Verify consistency in brightness and color.
- Check for any remaining distractions or imperfections.
- Optimize file sizes for fast web loading without sacrificing quality.
Common Pitfalls to Avoid
Even experienced agents can make mistakes. Be mindful of these common traps:
- Blown-Out Windows: When the interior is correctly exposed, windows often appear as pure white, losing the view outside. HDR processing or careful bracket blending is crucial here.
- Too Many Filters/Over-Editing: While enhancement is good, artificial-looking photos can be off-putting. Aim for natural vibrancy, not cartoonish exaggeration.
- Reflections: Be careful of mirrors or shiny surfaces reflecting you or your equipment.
- Poor Resolution Photos: Blurry, pixelated images scream unprofessionalism. Always use high-resolution images.
- Inconsistent Gallery: Ensure all photos in the listing have a similar look and feel in terms of exposure, color temperature, and overall quality. This builds trust.
Conclusion: Your Visual Advantage in a Competitive Market
In the real estate journey, listing photos are more than just images; they are powerful marketing tools that can significantly influence a buyer's decision. By combining meticulous staging, sound photography principles, and the transformative capabilities of AI photo enhancement, you position your properties for maximum impact and faster sales.
Don't let subpar visuals be the reason a potential buyer scrolls past your listing. Invest in quality photography and leverage modern tools to create an irresistible visual narrative for every property. Start transforming your listing photos today and experience the difference for yourself. Try RealEstatePhotoEditor.com's free trial and see how easily you can achieve stunning, professional results that generate leads and close deals.